
TL;DR
Let's Do It Together!
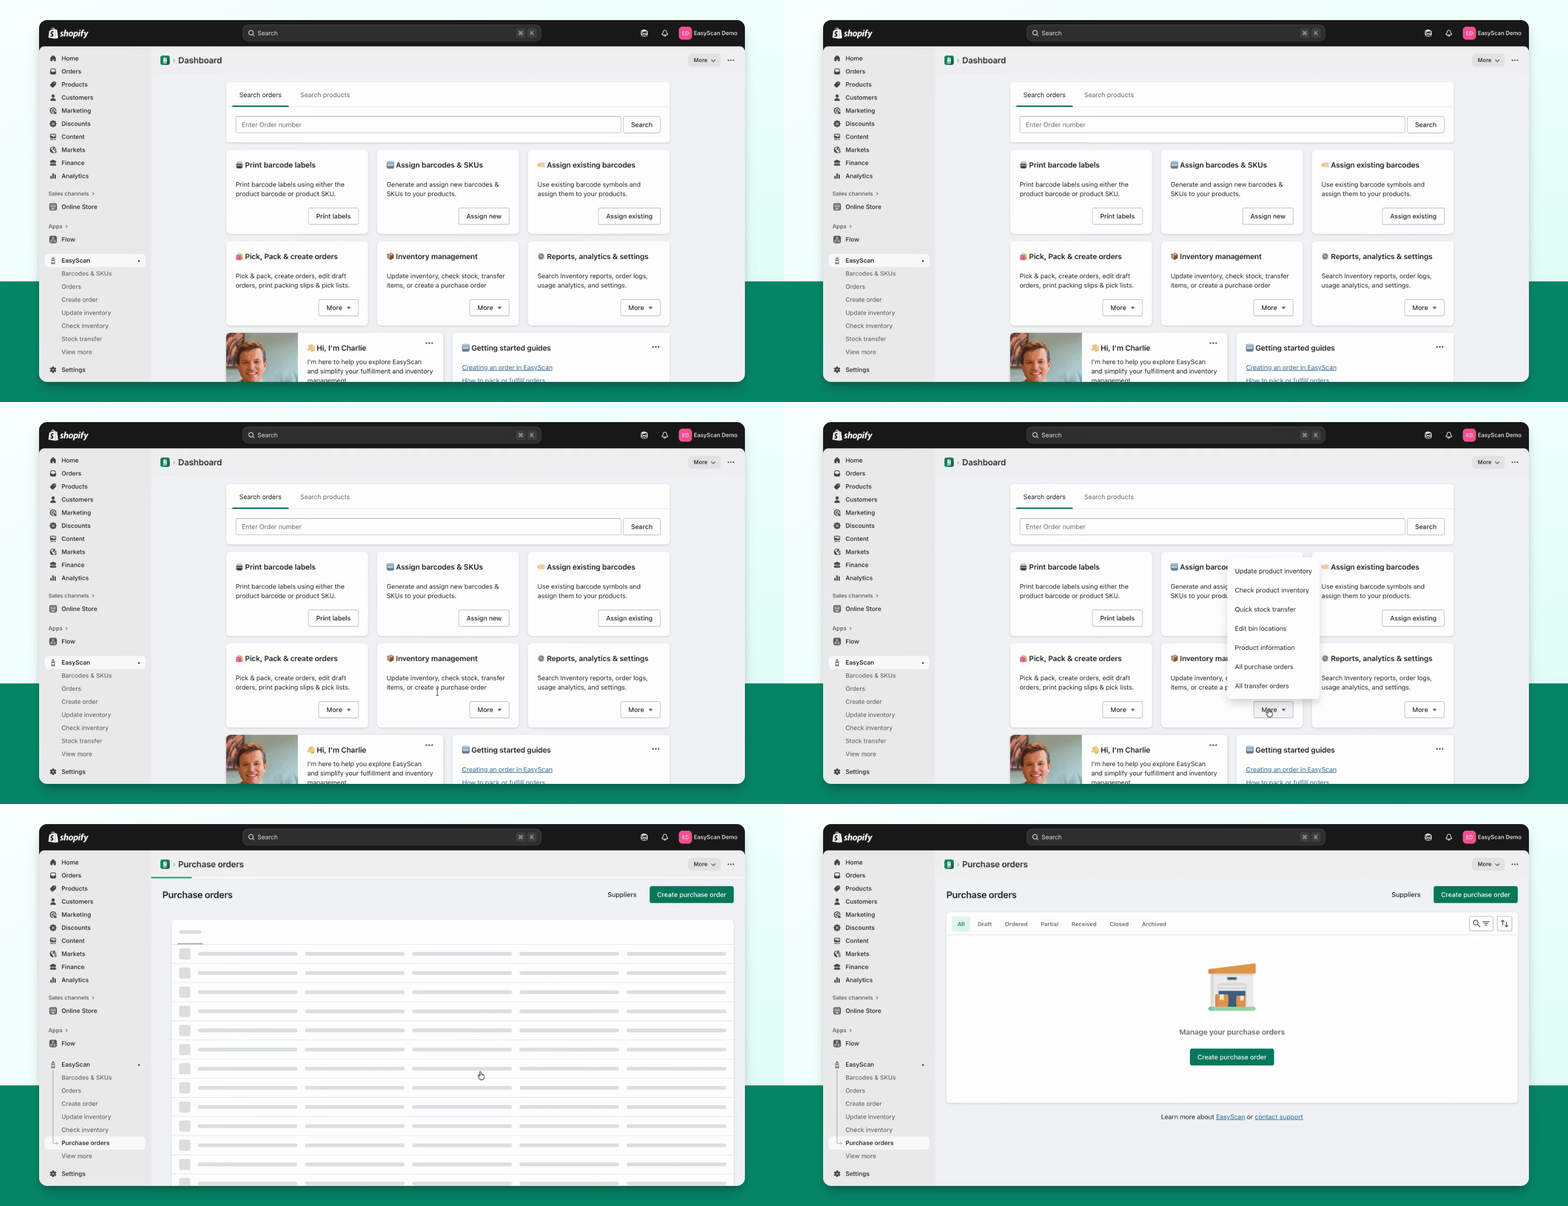
Step 1: Navigate to Purchase Orders
Open the EasyScan application.
Go to the Purchase Order screen.
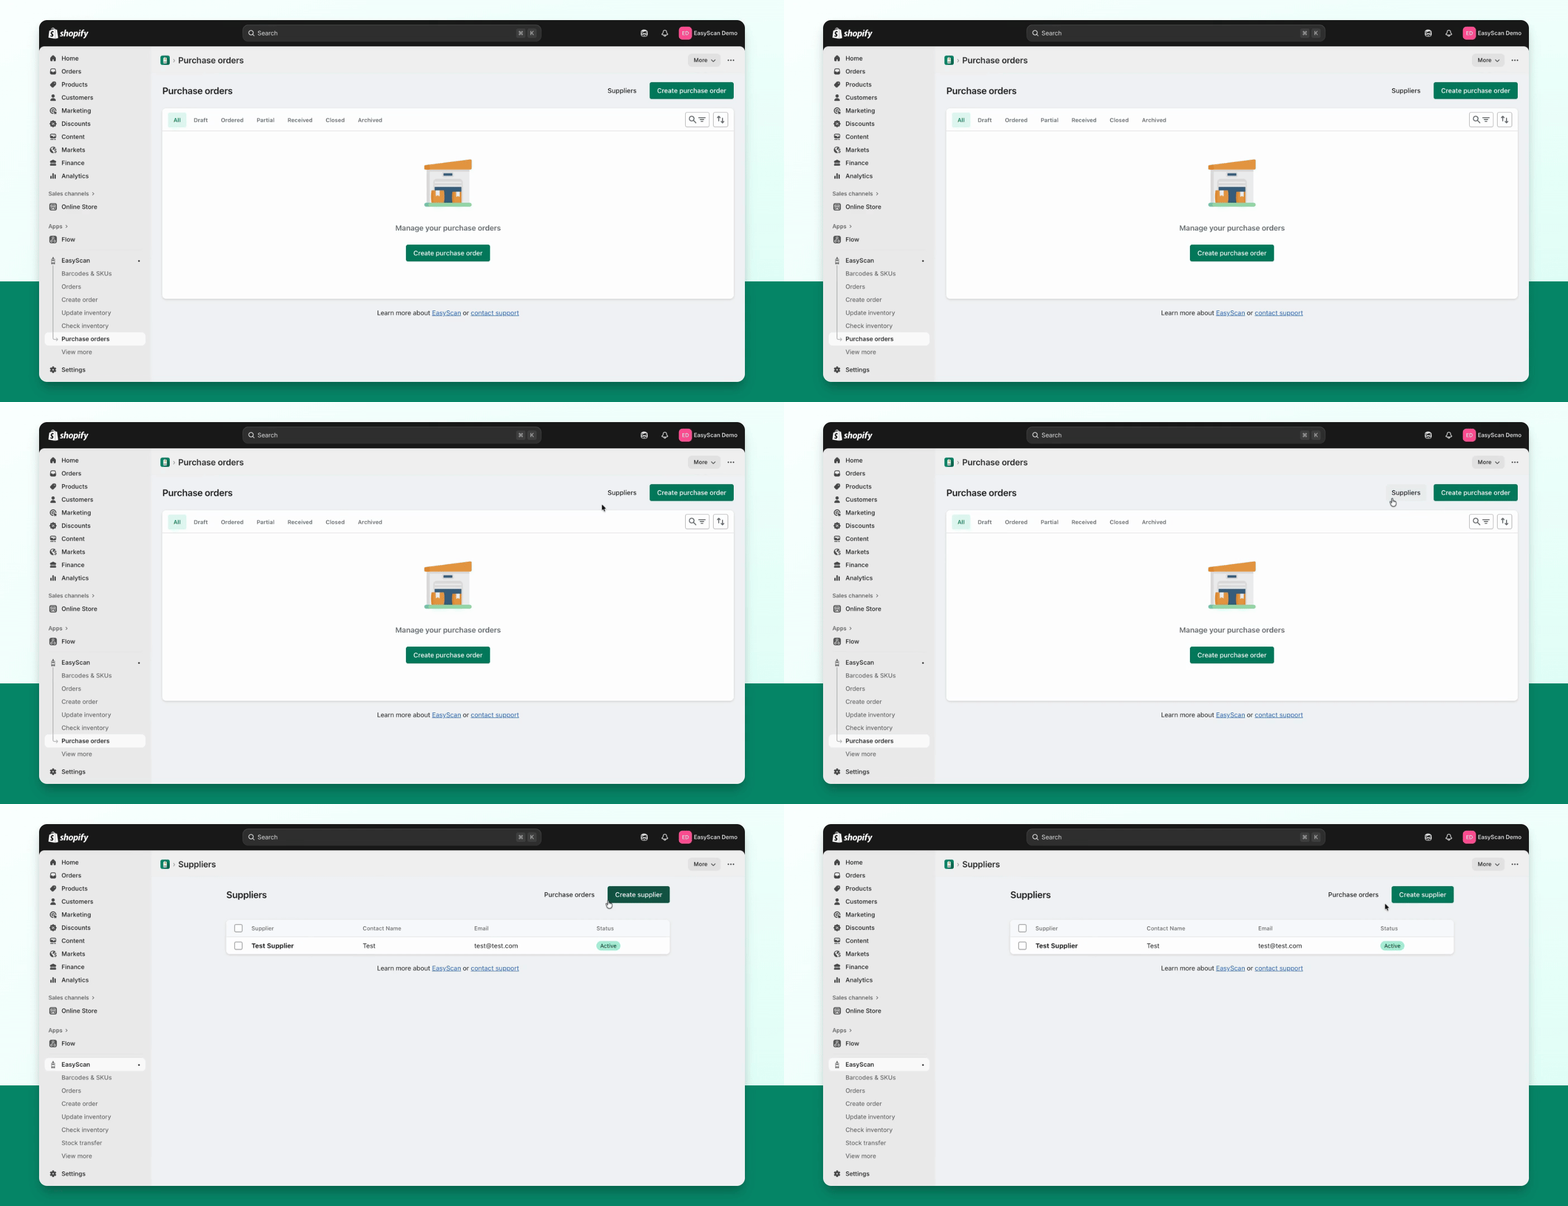
Step 2: Access Suppliers
Click on Suppliers.
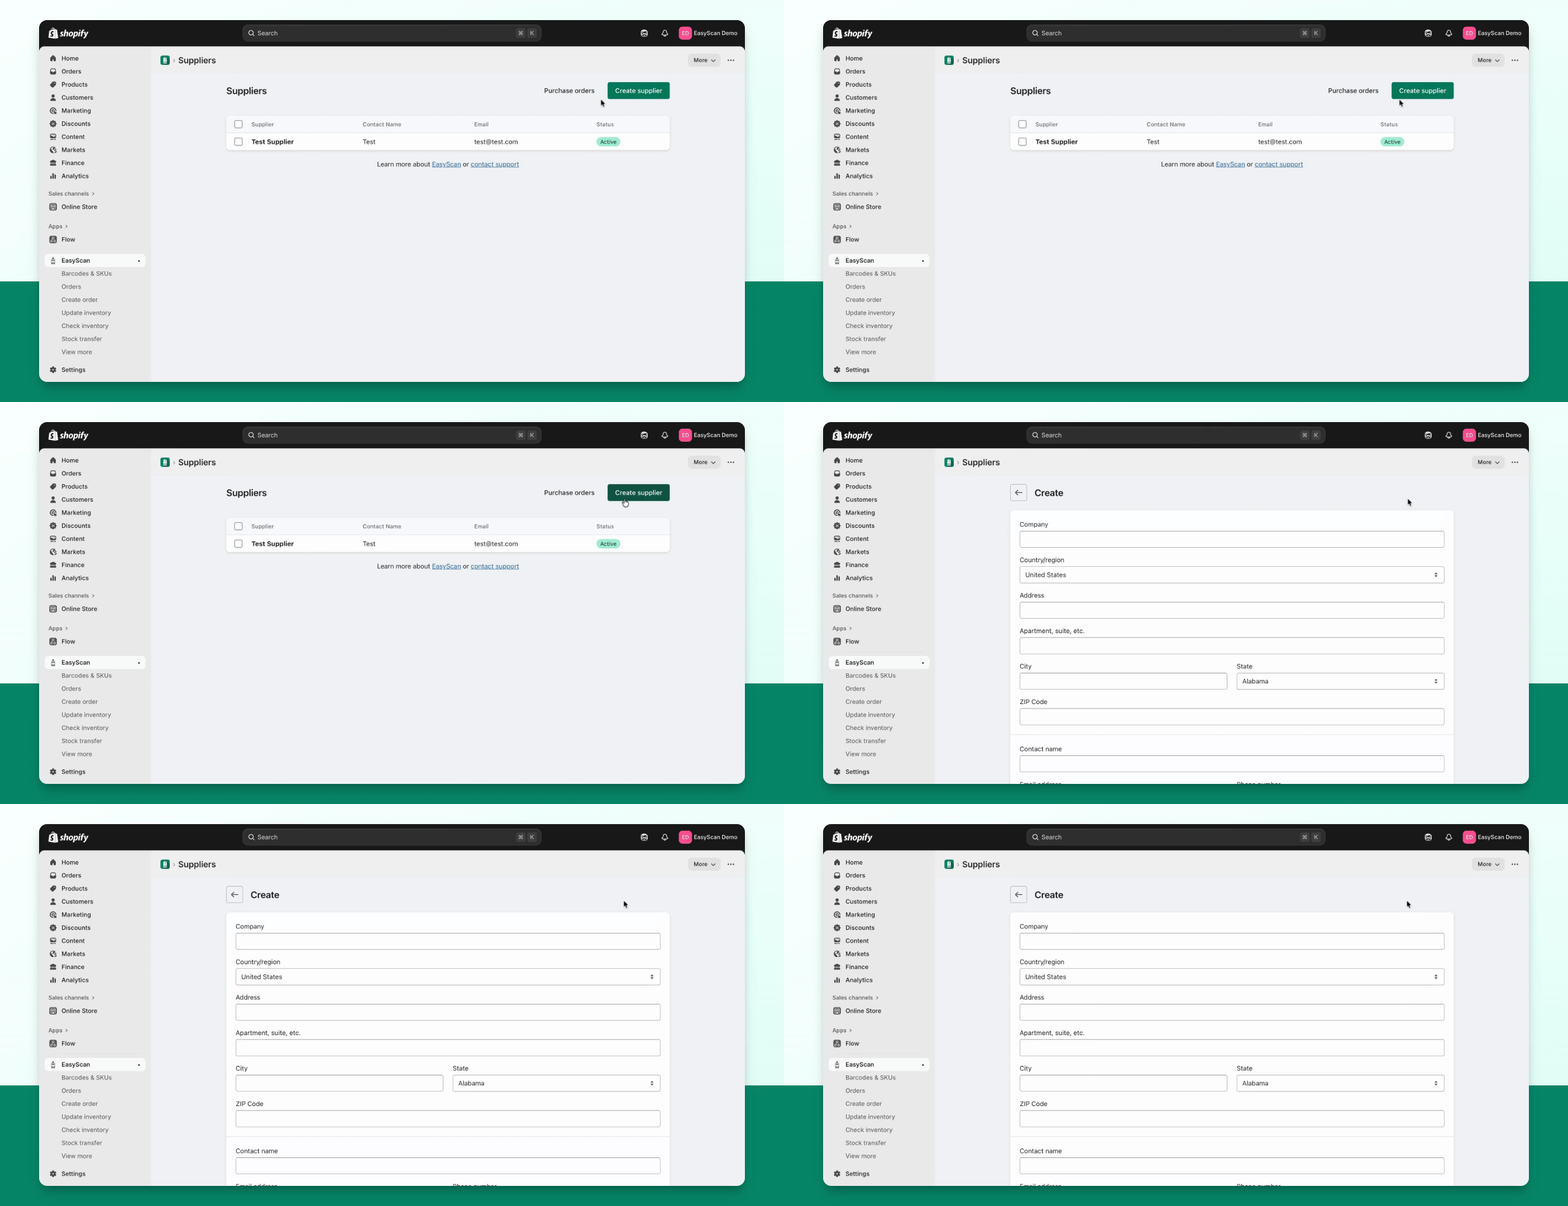
Step 3: Create a New Supplier
Click on Create Supplier.
Suppliers are available on Advanced and Pro. Open Purchase orders → Suppliers → Create supplier.
Enter the supplier’s company and contact details. Add the address and email contacts needed for ordering and delivery.
Set the currency, payment terms, tax and shipping rules that apply to your orders.
In Order rules, set lead time and a default minimum order quantity where appropriate. Lead time helps Demand forecast calculate cover through the delivery period.
Configure the products supplied. You can link Shopify vendors, or use the Product assignment options to choose specific products or conditions such as title, type, vendor, tag or SKU. Choose whether conditions match all or any.
Save, then review the supplier catalog. Keep supplier SKUs and supplier-specific costs here when they differ from Shopify’s values.
The Suppliers page also offers import tools. For supplier CSV updates, review whether you want to fill blank fields or overwrite matched records before confirming. Review product assignments before using Smart generate so the proposed order contains the products the supplier can provide.
You have successfully created a new supplier in EasyScan.