
This is a quick overview of EasyScan's purchase and transfer orders feature. Let's look at the steps:
Step 1: Create Suppliers
To create suppliers, click the button to the right if you have no suppliers.
When you create a supplier, insert the company, contact name, email address, and additional contacts.
Add details like the average delivery days, lead time, and minimum order quantity.
You can also include shipping rules like minimum order amount, shipping fee, and free shipping threshold.
Associate the supplier with Shopify vendors to ensure correct product fulfillment.
Step 2: Create Purchase Orders
To create a purchase order, press the button at the top right or use the dropdown to smart generate orders.
Select the supplier and how you want to restock: smart restock or fixed amount.
If you wish to manually create it, select the supplier, insert the product, and choose the quantity.
You can attach information like estimated arrival, shipping carrier tracking number, and payment details.
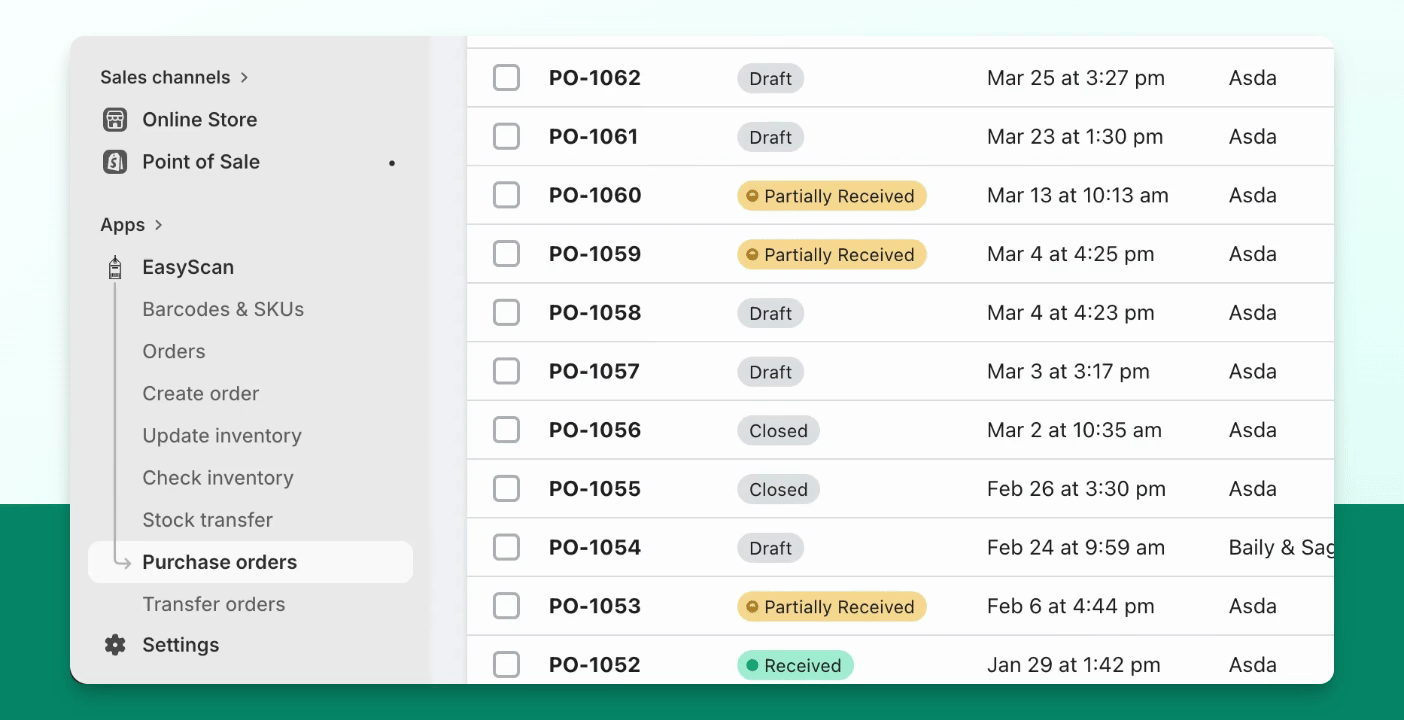
Step 3: Manage Purchase Orders
From the draft purchase order, you can duplicate, export to CSV, print PDF, or email it to the supplier.
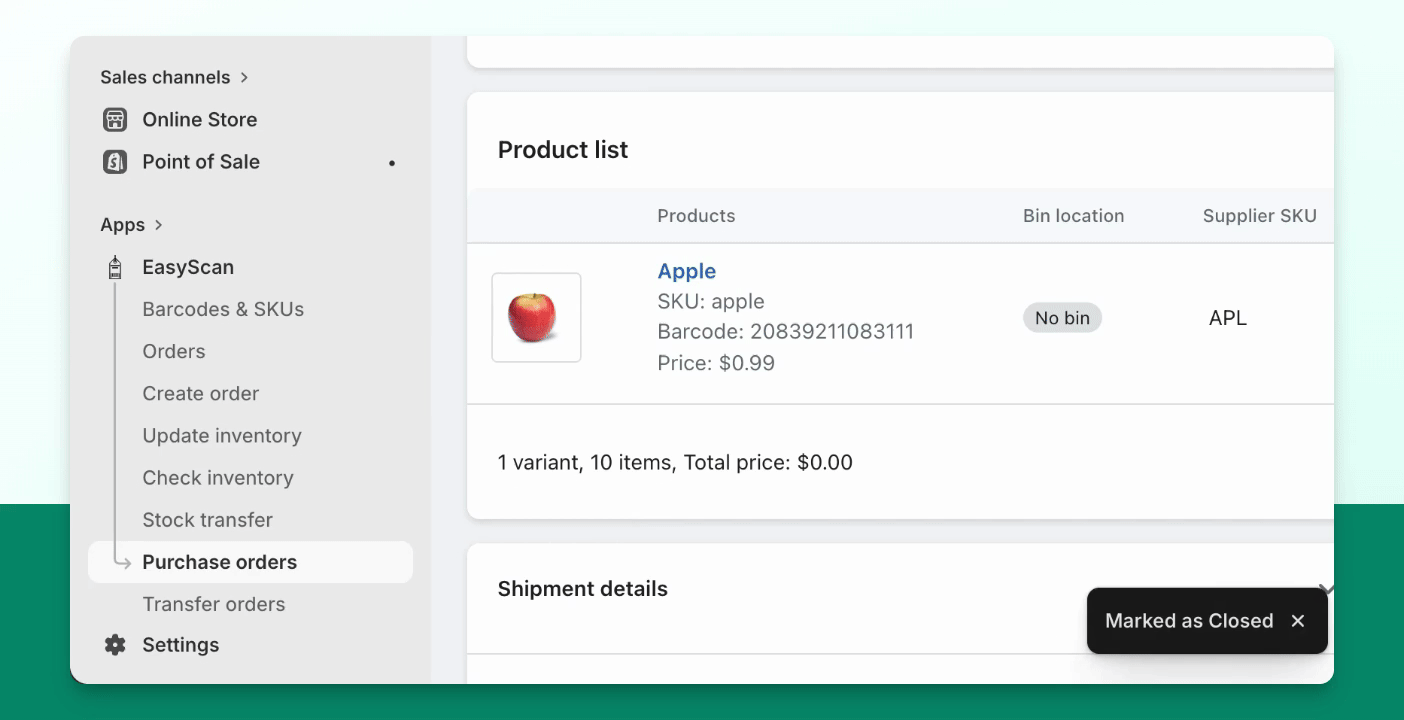
Step 4: Receive Inventory
When ready to receive, press the receive inventory button and scan the items.
If you don't receive the entire quantity, you can reject the excess items.
Once done, press save, and your purchase order will be updated.
You can partially receive purchase orders if necessary.
Step 5: Transfer Orders
Navigate to the transfer orders page, similar to purchase orders, to manage your stock transfers.
Select the origin and destination, then enter the SKU and quantity to transfer.
After packing the transfer, mark it as in transit.
Finally, accept the received quantity, save, and close the transfer order.
That was a quick overview of the purchase and transfer orders feature in EasyScan.