
In this tutorial, you'll learn how to send an email to a supplier from a purchase order within EasyScan. Let's look at the steps:
Step 1: Go to Purchase Order Screen
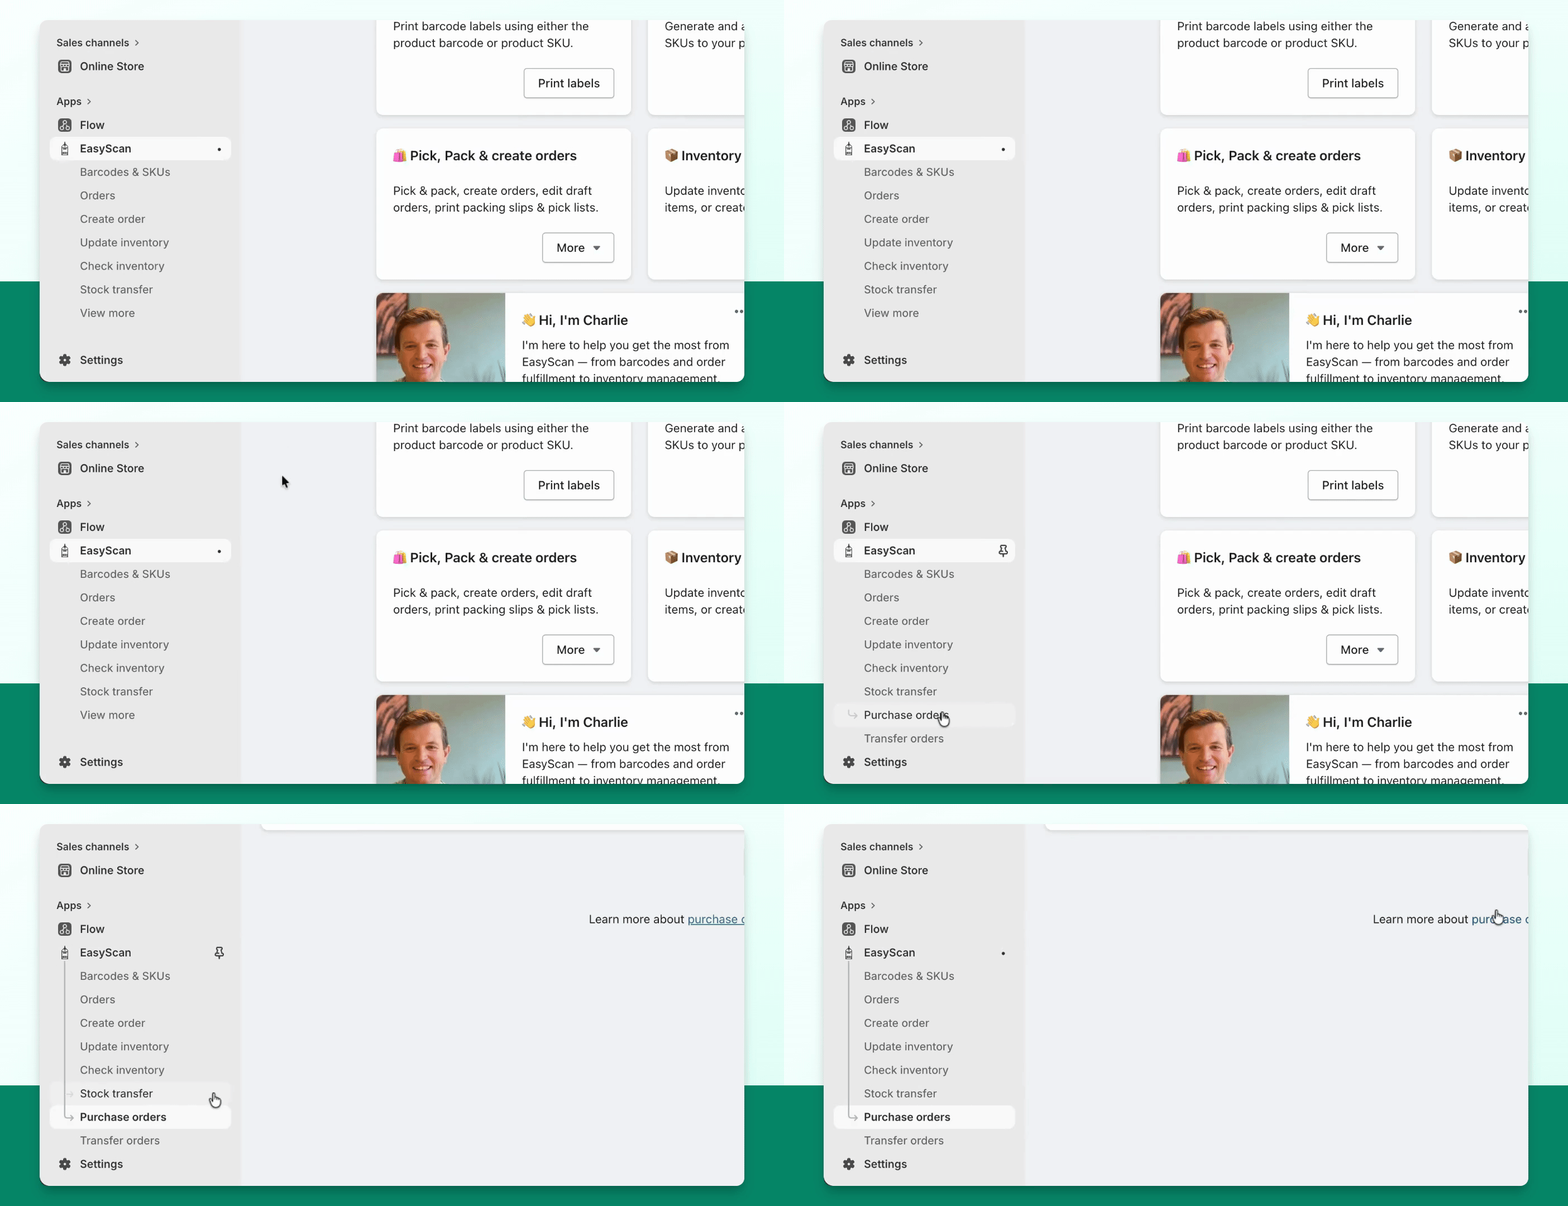
Navigate to the purchase order screen.
Step 2: Create Purchase Order
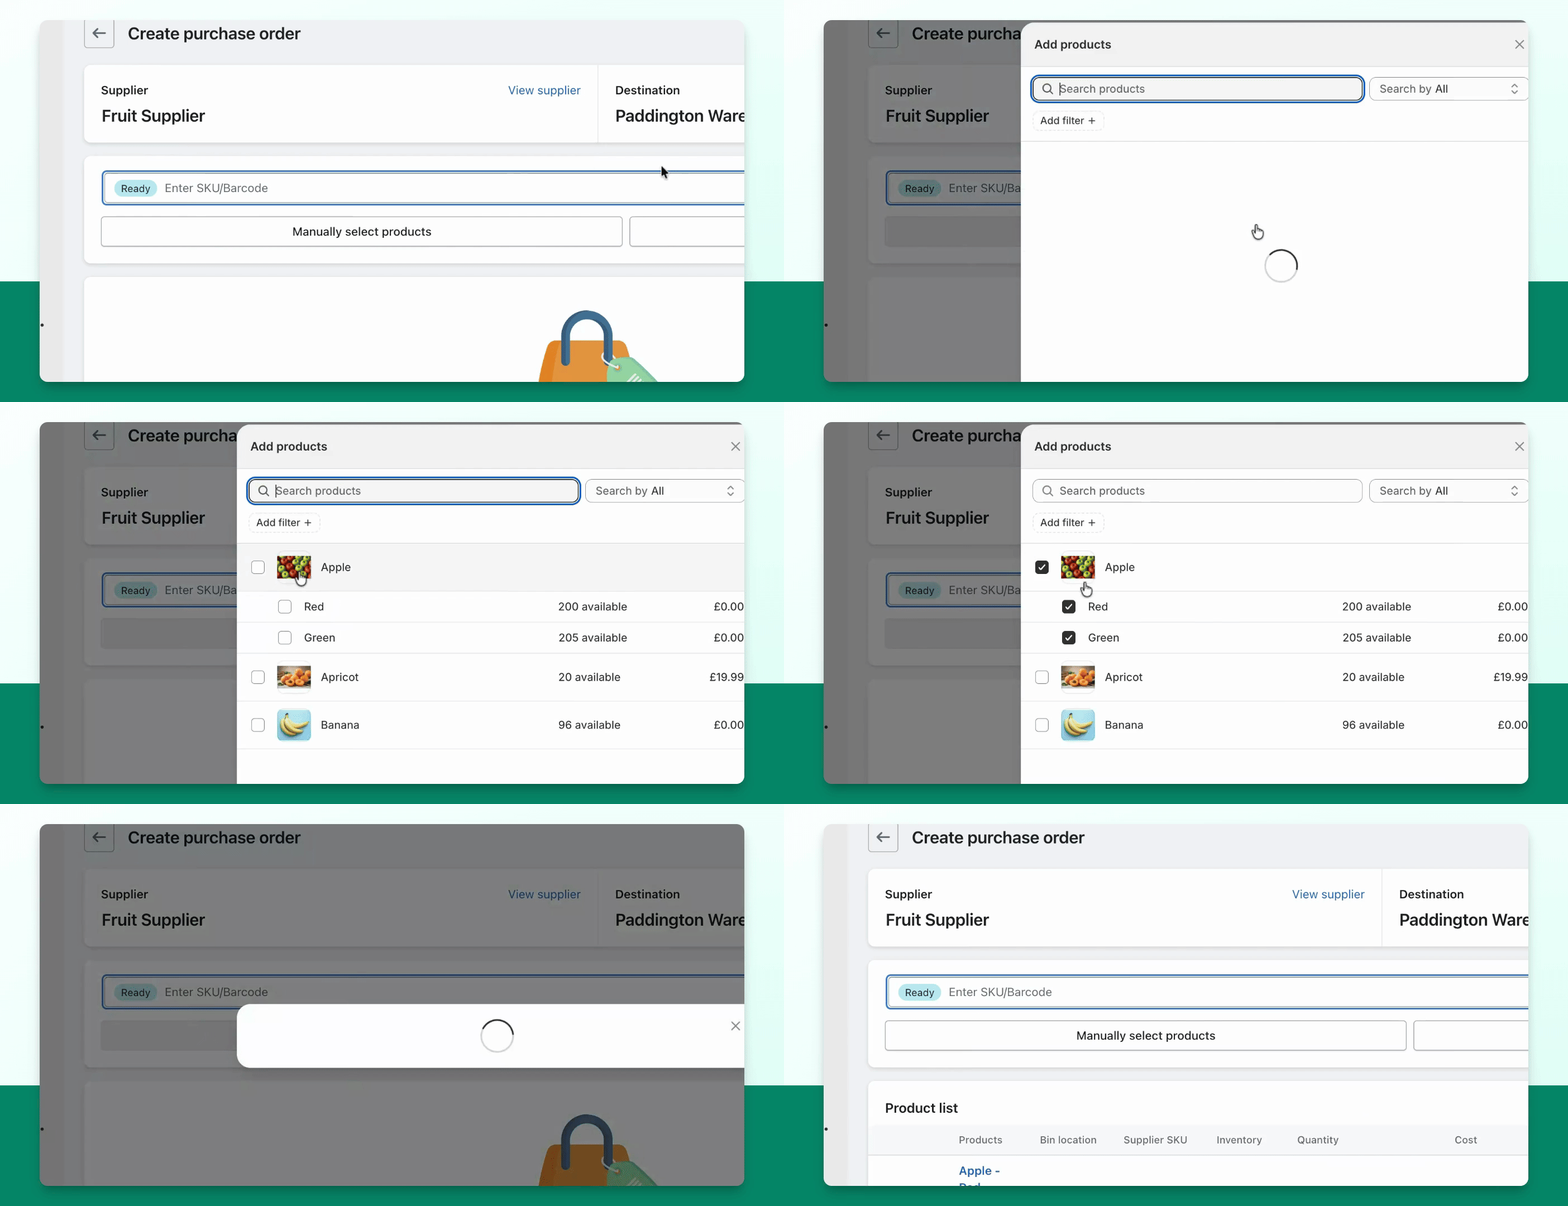
Create a purchase order by selecting the supplier and destination, then add a product and Save the purchase order.
Step 3: Email Purchase Order
Click more actions and then select email purchase order.
Step 4: Fill Email Details
A pop-up will appear where you can fill in the email address. If the supplier already has an email saved, it will be imported. You can overwrite it anytime. Also, add the reply-to email address, the subject, an optional message, and choose whether to attach the purchase order PDF (enabled by default).
Add your logo to purchase-order emails
In Settings → Inventory → Purchase orders → Email, enable the custom email logo, choose an image from Shopify Files or enter a supported image URL, and adjust the width. Save the settings before sending the PO email.
This replaces the EasyScan wordmark at the top of the email; a small Powered by EasyScan footer remains. The email logo is separate from the PO PDF logo. Leave the option off to keep the default email header.
Step 5: Send Email
Press Send email to send the email.