TL:DR
Let's Do It Together!
Step 1: Access Print Labels
Navigate to the Print Labels section.
Step 2: Configure Label Settings
Select your label dimensions.
Choose your label layout.
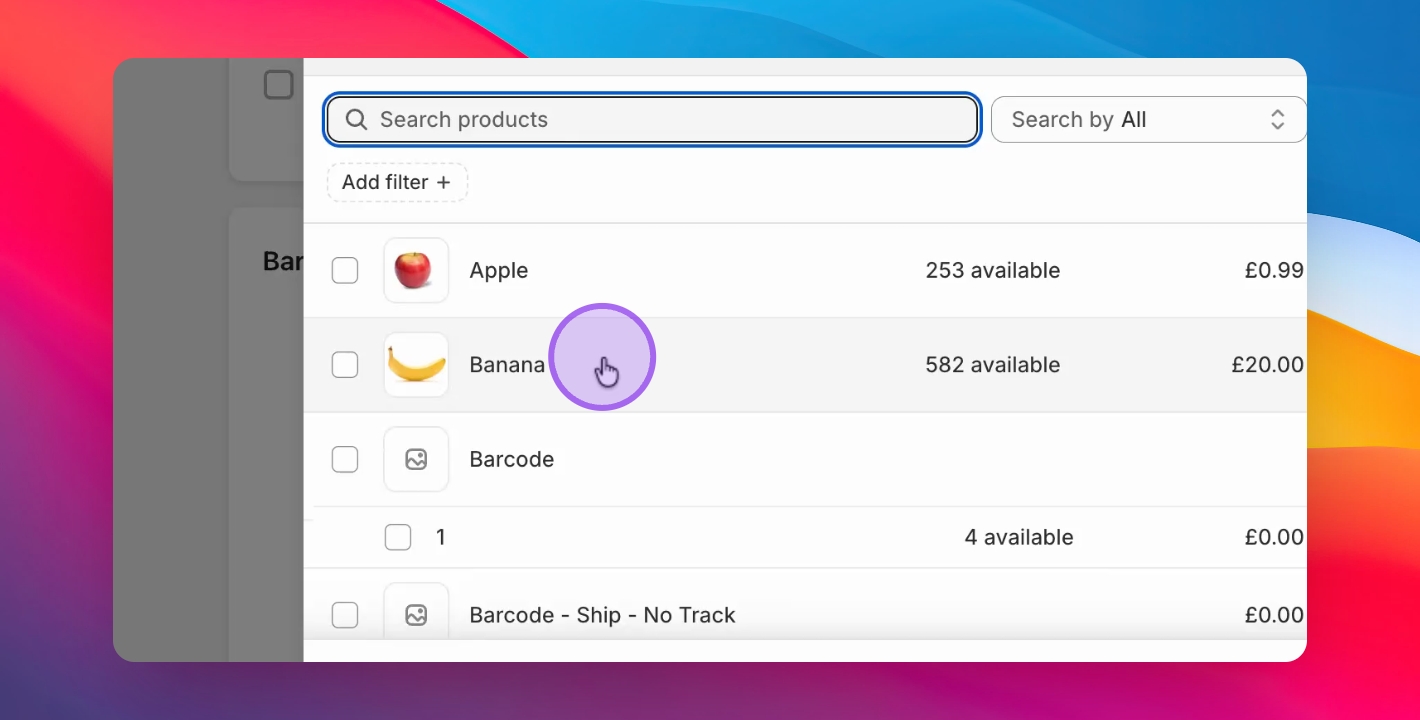
Select the products for labeling.
Step 3: Print Your Labels
Decide on the quantity of labels to print.
Click Print labels to start printing.
Fine-tune label layout: barcode priority and single-line text
Two options in the standard label template's print settings give you more control over how crowded labels are laid out.
Prioritize barcode size — keeps the barcode symbol printed at its full configured size and shrinks the surrounding text to fit instead. Turn this on when a barcode source is selected and you need the barcode to stay scannable on small or crowded labels; without it, long product text can compress the barcode itself.
Keep text on one line — truncates long product text with an ellipsis (…) instead of wrapping it to a second line. Available on any standard label, independent of barcode source.
Both toggles live in the label template editor under Print Labels, alongside the other size and layout options, and only apply to standard labels (not small or jewellery label formats).
More label options
The row builder can include Country of origin or Country of origin (Made in …) from the Shopify variant’s inventory information. If no origin is saved, that field is blank. Market prices let you print the price for a selected country. Advanced and Pro can optionally use PrintNode for direct printing to the saved printer.